Add a drop-down list fast with Data Validation. Use these core steps:
- Select the cell(s) where the list should appear.
- Go to Data → Data Validation.
- In Settings, set Allow: List.
- In Source, type items (comma‑separated) or reference a cell range or named range, then click OK.
That’s the entire flow you’ll use every time; the rest of this guide covers options, upkeep, and variations.
Source Methods Compared
| Source method | How to set it | Best for |
|---|---|---|
| Typed list | Enter values in Source like: Red, Green, Blue | Short, fixed lists maintained by the creator |
| Cell range | Select a range or type =Sheet1!$A$2:$A$20 | Lists stored in the sheet and edited in-place |
| Named range | Type =ProductList (a defined name) | Reusable lists; works well with Tables/dynamic ranges |
Understanding Drop-Down Lists in Excel
Basics of Drop-Down List
A drop-down list is a feature in Excel that lets you choose from a list of options. To create one, I use the Data Validation tool. This tool requires me to first list the options I want users to choose from. These options can be on the same sheet or a different one.
Once I’ve created the list, I select the cell where I want the drop-down to appear. By accessing the Data tab and clicking on Data Validation, I set the validation criteria to List. Then, I link it to my list of options.
With this setup, each selected cell shows a small arrow, indicating there’s a drop-down menu. This makes the process user-friendly and reduces mistakes during data entry.
Applications and Benefits
Drop-down lists have various applications in Excel. I often use them in forms, surveys, and data collection sheets. They ensure that inputs are consistent across all entries, which is crucial in maintaining data quality.
There are several benefits to using drop-down lists. They’re efficient because they speed up data entry and prevent manual errors. By offering only valid options, they minimize incorrect input. This is especially important when working with large datasets.
Also, drop-down lists make an Excel sheet more user-friendly. Users don’t need to remember specific inputs, as the choices are already provided. This is why incorporating drop-down lists is a best practice in many Excel applications.
How to Create Custom Short or Long Drop-Down Lists in Excel
Before adding a drop-down list in Excel, ensuring your data is organized and using named ranges can help maintain data integrity. These steps will streamline the drop-down list creation process by making your dataset efficient and error-free.
Organizing Data
I start by ensuring that my data is well-organized. I arrange my data in an Excel table format because Excel tables automatically expand to include new entries. This structure helps in maintaining the accuracy of my drop-down list. I often use columns with clear headings to make the data easy to understand.
Furthermore, I avoid blank rows and columns, as these can disrupt the drop-down functionality. Consistent data formatting is also crucial, so I ensure all entries follow the same pattern, like using the same date format or text style. Having this consistency eliminates errors when using the drop-down list.
Creating a Named Range
To make my dataset more manageable, I create a named range. This defined range covers all the data I wish to include in my drop-down list. Using named ranges makes updating my drop-down list easier. Instead of relying on absolute references, I use descriptive names that reflect the data category, such as “ProductList” or “EmployeeNames.”
To set a named range, I highlight the relevant cells and use the Name Manager tool. This tool simplifies updates when adding or removing data points. By maintaining clear and descriptive names, I ensure stability and accuracy in my drop-down lists.
Accessing Data Validation Tool
First, I select the cell or range of cells where I want the drop-down list to appear. Then, I go to the Data tab on the Excel ribbon. From there, I click on Data Validation. This opens a dialog box where I can specify the type of data I want to allow in the selected cells.
Inside the Data Validation window, I choose List from the Allow menu. This choice is key because it lets me set a list of predefined entries that users can select. By restricting entries to this list, I can prevent unwanted data from being entered, which helps maintain data integrity.
Configuring List Criteria
In the same Data Validation dialog box, I move to the Source field. Here, I input the entries for my drop-down list. These items could be typed directly into the Source box, separated by commas if they are few, or I could reference a range of cells containing these items.
When referencing a range of cells, I make sure the cell addresses are correct and use absolute references if needed. For instance, if my list items are in cells A1 to A5, I enter **_=Sheet1!$A$1:$A$5_** in the Source box. This step is essential to ensure that only the desired options are available. Once done, I click OK to create my drop-down list.
Customizing Drop-Down Options
Customizing a drop-down list in Excel lets you enhance the user input experience. I will explain how you can allow users to add different entries and set up alerts for invalid data.
Allowing Other Entries
Sometimes, it is useful to let users add data not listed in the drop-down options. To do this, open the Data Validation dialog box. Go to the “Settings” tab. Check the “Allow other entries” box. This feature provides flexibility for users to enter custom items alongside the predefined list.
You can apply this when your drop-down list is extensive, and you want a quick way for users to input unique data. For instance, in situations where the choices may not cover unconventional items, this can be handy. This customization option makes sure users are not restricted while maintaining some guidance.
Setting Error Alerts
To provide feedback for incorrect inputs, setting up an error alert is key. Go back to the Data Validation dialog box. Click on the “Error Alert” tab. Here, you can define a message that appears if invalid data is entered.
There are several options to choose from, like “Stop,” “Warning,” and “Information,” to control the type of alert users see. This feature prevents errors while guiding users to input correct data. For example, choose “Stop” to prevent entry or “Information” for a reminder. Setting error alerts ensures that your data remains accurate and formatted correctly.
Designing User Inputs
When designing user inputs in Excel, two key techniques can enhance the functionality of your worksheet. First, crafting input messages guides users by providing helpful instructions. Second, creating in-cell dropdowns allows for easy data entry and standardization.
Crafting Input Messages
I find input messages to be a powerful tool when guiding users through data entry. When setting up a drop-down list in Excel, you can add an input message that appears when a user selects a cell. This message can offer instructions or clarifications on what is expected.
To add an input message, I go to the Data tab, click on Data Validation, and then select the Input Message tab. Here, I can type a title and message to appear when the cell is selected. This is particularly useful if there are specific criteria or format requirements for the data being entered. With input messages, I ensure that users receive the necessary guidance without cluttering the worksheet.
Creating an In-Cell Dropdown
Creating an in-cell dropdown in Excel helps streamline user input by offering predefined options. This feature reduces errors and saves time as users don’t need to type repetitive values manually. To create one, I use the Data Validation feature under the Data tab.
Within the Data Validation dialog, I select List from the Allow dropdown. I can then define the source of my list, either by typing the items separated by commas or by selecting a range of cells in the worksheet. This process creates a dropdown arrow in the selected cells, allowing users to choose from the provided options. By using this method, I ensure data consistency and accuracy across my spreadsheet.
Managing Advanced Drop-Down List Features
When working with Excel, creating sophisticated drop-down lists can enhance data management and accuracy. Key techniques include implementing dependent lists and taking advantage of dynamic arrays to ensure your lists are efficient and adaptable.
Implementing Dependent Lists
Dependent drop-down lists allow users to choose options based on a previous selection. To do this, I set up a primary list and then create secondary lists that rely on the primary selection.
For example, if I have a list of countries and want to show cities only relevant to the chosen country, I use the **INDIRECT** function. This function helps link selections so that the options shown in the second drop-down depend on the first selection. Using named ranges for the lists makes it easier to organize and manage the data.
Implementing dependent lists improves the user experience by providing structured and relevant choices. It also reduces errors by limiting the available options, ensuring that only valid combinations are selected.
Using Dynamic Arrays
Dynamic arrays in Excel make it easy to create lists that automatically update when data changes. I leverage these arrays to create dynamic drop-down lists. By using functions like **UNIQUE**, I ensure the list includes only distinct items, even as data changes.
For a dynamic drop-down list, I combine **SEQUENCE** and filter functions like **FILTER** to automatically include new entries added to a data table. This is particularly useful in datasets that are frequently updated or expanded.
Using dynamic arrays is efficient because I don’t need to manually adjust lists when data sources change. This automation saves time and reduces the risk of outdated list items, keeping data management fluid and accurate.
Data Validation in Practice
Data validation is a powerful feature in Excel that helps organize data efficiently. It restricts input to valid entries and enhances data management. Here, I explore how to prevent errors and ensure data management using this tool.
Preventing Data Entry Errors
Using Excel’s data validation tool, I can set rules to prevent mistakes during data entry. By creating a drop-down list, I limit inputs to specific values. This reduces manual errors like typos or incorrect data.
I can customize the error alert message that pops up when someone tries to enter invalid data. This message guides users to provide only correct values. For fields that require specific formats like dates or numbers, I use the custom validation criteria. This ensures only valid entries are recorded.
Ensuring Data Management
Data validation greatly improves how I manage and organize information. When setting up workbooks, I use validation to maintain data integrity. Grouping similar data types within a controlled set allows easy review and analysis.
It also helps in creating interactive reports where changing a value in one cell adjusts the entire set. This is useful for financial models or interactive reports.
Furthermore, I can secure the input source by hiding the worksheet containing the accepted values. This prevents accidental edits or data tampering. Effective data management through careful validation practices ensures data clarity and reliability.
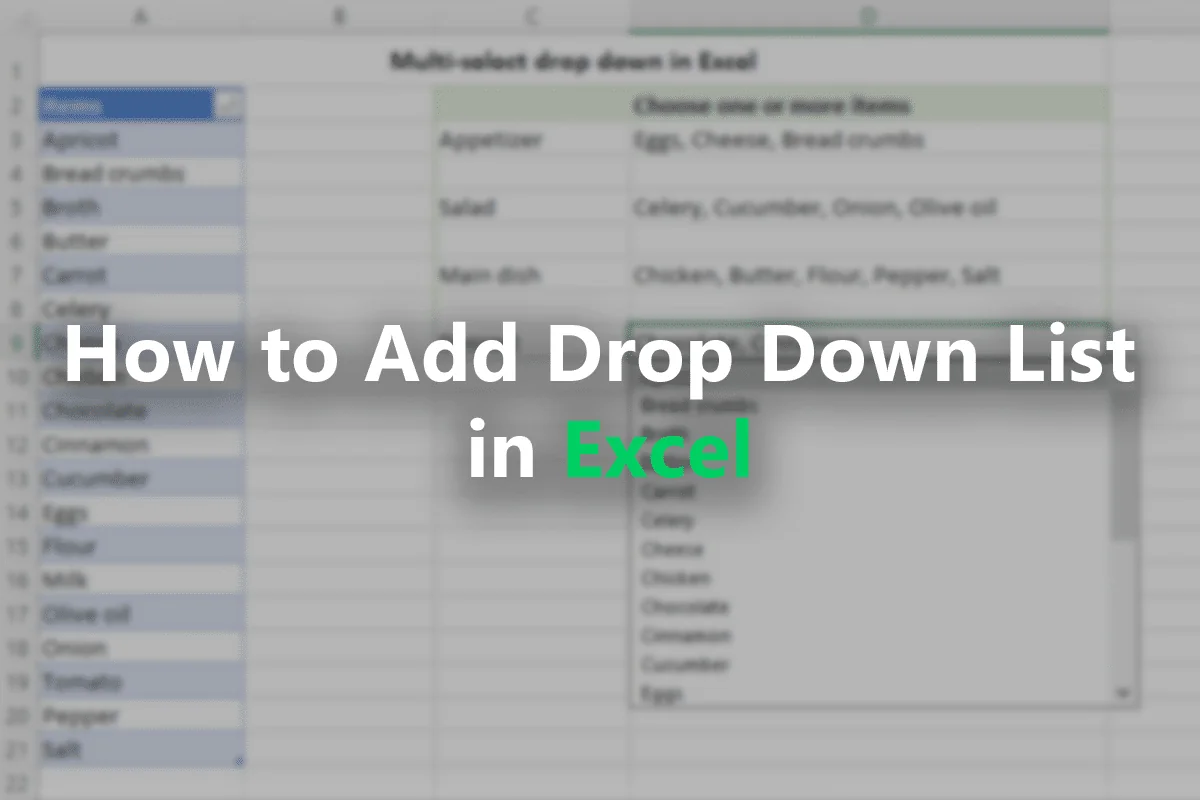
Working with Multiple Selections
When you want users to select more than one option from a list in Excel, you’ll need to create a multi-select drop-down list. This allows for greater flexibility and ensures all needed data can be captured directly in the spreadsheet.
Creating Lists for Multiple Choices
To make a drop-down list with multiple selections, I first set up a standard drop-down list. I use the Data Validation feature, a vital tool for this task. By selecting my target cell, I head to the Data tab and choose Data Validation.
In the Data Validation dialog box, under the Settings tab, I choose List in the Allow box. Here, I can type in my list items or link them to a range in my sheet.
Next, to allow multiple selections, I often need to use some VBA scripting. It involves adding a script to the worksheet, which you can find detailed steps for on various guides like Ablebits and other reliable sources. This script helps manage and store multiple selections through user clicks. It’s essential for more advanced list functions in Excel.
Formatting and Presenting Lists
When creating drop-down lists in Excel, it’s important to focus on effective formatting and presentation. These elements ensure that lists remain clear and user-friendly. Consistent formatting helps users quickly understand and use the lists for data entry and analysis.
Applying Consistent Formatting
When I add drop-down lists to Excel, consistency in formatting is crucial. Using the same font, font size, and style across all lists enhances readability. I apply conditional formatting so that the list’s background changes based on selections. This visual feedback makes it easy for users to notice changes.
To copy formatting from one cell with a drop-down list to others, I use the Format Painter tool. By selecting the formatted cell and using this tool on others, I ensure uniformity throughout my spreadsheet.
This approach not only keeps things looking neat but also maintains consistency across multiple lists. Additionally, choosing to highlight important options with colors in the list improves the overall usability.
Creating structured and visually engaging drop-down lists makes data management more effective and minimizes errors during data entry. This method ensures both elegance and functionality in my Excel worksheets.
Maintaining and Updating Lists
Keeping your Excel drop-down list accurate and up-to-date is crucial for data integrity. I’ll cover how to add a new item and update list sources efficiently.
Adding a New Item
To add a new item to your drop-down list, open your Excel file and identify the list source. If your list uses a data validation list, you can directly add new options to the range it references.
For easier management, I often suggest using a named range. Go to the Formulas tab, select Define Name, and create a name for your list. This makes adding new items straightforward since you only need to update the content within the named range.
Remember to check the drop-down in all relevant cells to ensure the new item displays correctly. This simple step can save you a lot of trouble later.
Updating List Sources
When your list sources need updating, you’ll want to adjust them without causing errors. If your drop-down is based on a table, updating it is as simple as adding or removing items in the table. Excel will automatically reflect these changes in the list.
For those using a regular range, navigate to Data > Data Validation and update the source directly. This could be a unique opportunity to switch to a table-based range, which adjusts automatically.
To keep your data validation list confidential, consider hiding the worksheet it’s on by right-clicking the sheet tab and selecting Hide. You can also protect the sheet to prevent unauthorized changes.
Tips for Excel Online and Cross-Version Compatibility
Excel Online and different desktop versions can behave slightly differently. To keep the main guide focused, we’ve moved compatibility notes to the appendix.
Frequently Asked Questions
In this section, I dive into various common queries about creating, editing, and managing drop-down lists in Excel. Whether you’re looking to make multi-selection lists, add color to your lists, or use formulas for dynamic content, I’ve got you covered.
How do I create a drop-down list in Excel with multiple selections?
Creating a drop-down list with multiple selections requires a more advanced setup. Instead of using standard Data Validation, I use macros or scripts. By doing this, I enable the ability to select multiple items from one drop-down, enhancing flexibility in data handling.
What is the process for adding a drop-down list in Excel with color?
To add color to a drop-down list, I apply Conditional Formatting. After setting up the list, I define rules that change the cell’s background based on the selected text. This visual cue makes data more intuitive by highlighting specific choices through color.
What are the steps to edit an existing drop-down list in Excel?
Editing an existing drop-down list is straightforward. First, I go to the Data Validation settings. Then, I adjust the range or specific details. This allows me to update the list’s options as needed, ensuring that all selections remain relevant and useful.
How can I remove a drop-down list from an Excel worksheet?
To remove a drop-down list, I access the Data Validation settings of the cell. By selecting “Clear All” within the dialog box, I effectively eliminate the list, leaving the cell free for any data entry without restrictions.
What formula can I use to manage drop-down lists in Excel?
I often use the **IF** formula or **[VLOOKUP](https://excel.tv/advanced-excel-tutorial-vlookup-speed-in-excel-excel-tv-episode-54/ "Advanced VLOOKUP Tutorial – VLOOKUP() Speed in Excel")** to manage or display values linked with a drop-down choice. These formulas help me link specific cell behaviors or outcomes with selections, making my spreadsheets smarter and more responsive.
How to display different values in Excel based on a drop-down list selection?
To display different values based on a selection, I use **IF** statements or **VLOOKUP** functions. This setup allows me to dynamically show or calculate results depending on the user’s choice within the drop-down, automating workflows and improving efficiency.
Appendix: Compatibility Notes
- Excel for the web supports Data → Data Validation → List, but very advanced validations and some conditional formatting rules may differ. Keep lists simple for best results.
- Across desktop versions, plain list validation is widely supported. Prefer basic lists when sharing files broadly. Test files in target environments when using newer functions or dynamic arrays.
